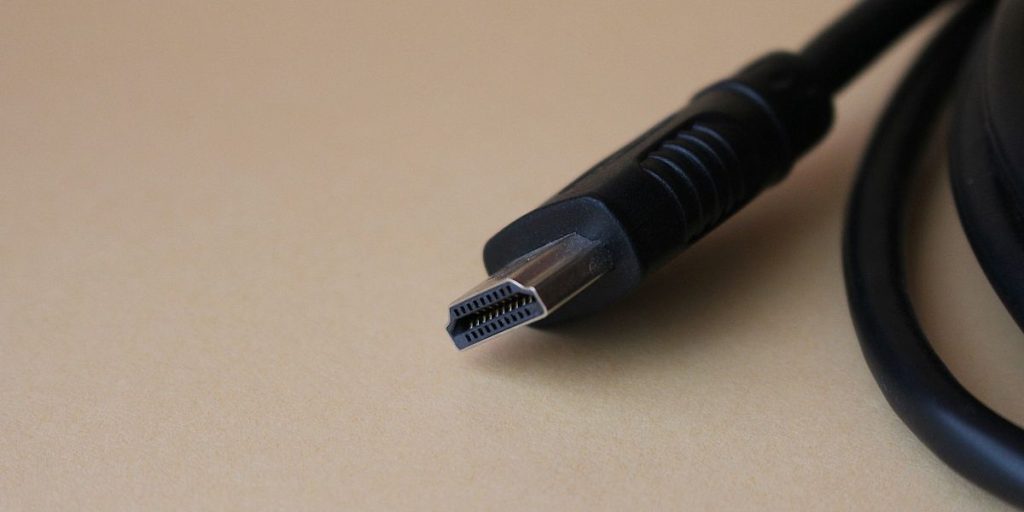
If you’ve ever looked at the back of your computer and seen a bunch of different ports that you don’t know what they’re for, chances are one of them is an HDMI port. You might not have known it, but your motherboard likely has the ability to output audio and video through this standard connection type.
This is a detailed guide on how to activate the HDMI port on the motherboard. Many people are unaware of the fact that their motherboard has this capability.
By following these simple steps, you can easily get your PC set up to output audio and video through your HDMI port!
Why Do You Need To Enable HDMI On Motherboards?
If you are using a dedicated graphics card, then there is no need to enable the HDMI port on your motherboard. The only time you will need to enable it is when you are not using a dedicated graphics card and want to use the integrated graphics processor on your CPU.
There are a few reasons why you might want to do this. Some of these situations include:
- You have limited ports on your dedicated graphics card, and you want to expand your capabilities
- The HDMI port on your graphics card is damaged
- You are using a CPU that doesn’t have a dedicated graphics processor (iGPU)
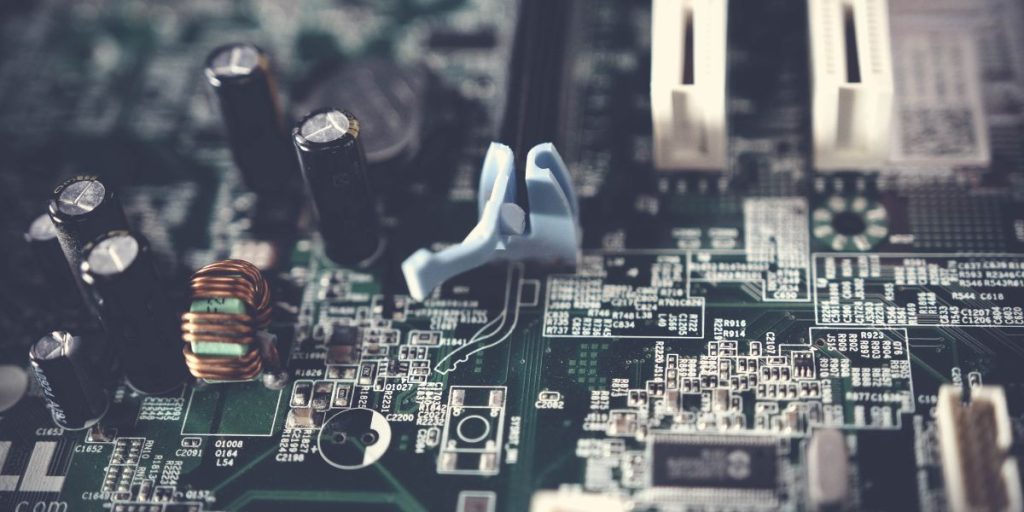
Enabling the HDMI port on your motherboard is a pretty simple process. All you need to do is go into your BIOS and enable the integrated graphics processor. We will show you how to do this in the next section.
How To Enable Motherboard HDMI? – Four Easy & Simple Steps
- Look for Integrated Graphics in Your CPU:
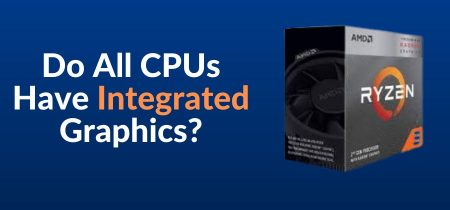
The first thing you need to do is check whether your CPU has integrated graphics or not. You can find this information in the product specification of your CPU. If it does have integrated graphics, then you’re all set! You don’t need to do anything else, and you can go ahead to the next section.
However, if your CPU doesn’t have integrated graphics, then you’ll need to do a little bit of extra work. You’ll need to install a separate graphics card in order to enable the HDMI port on your motherboard.
If you’re not sure how to check the product specification of your CPU, don’t worry! If you have an Intel CPU, then you can go to Intel’s website and look up the product specification for your particular model number.
Also Read: Can I Use DDR3 GPU In A DDR4 Motherboard?
2. Enable Integrated Graphics in BIOS:
Your computer’s BIOS must be configured to enable onboard or integrated graphics. This is usually the default setting, but if you’ve disabled it in the past, you’ll need to re-enable it now.
- To do this, reboot your computer and enter the BIOS setup utility. This is usually done by pressing a key during the boot process, such as F12 or Esc.
- Once in the BIOS, look for a section labeled “Integrated Graphics” or “On-board Video.” Enable this setting and save your changes. You may need to select “Enable” or “Auto” instead of “Disabled.”
- Take care here. Because the BIOS controls all of the internal workings of your computer, you must exercise extreme caution when changing or navigating it. Even if you’ve worked with BIOS before, you should be aware that they look very different for each motherboard.
- Look for an “Advanced” menu, tab, or section.
- When you’re in this menu, look for the IGPU or multiple display settings.
- If the settings are currently disabled, you can enable them. Enabling this should enable the HDMI on the motherboard and make everything work.
- Make sure to save your changes or press “Enter” to confirm your decision.
3. Display Devices / Monitors
The following step is to connect your monitor so that you can use the HDMI port on your motherboard.
- Connect your primary monitor to the video card’s HDMI port on the back. If you have a second monitor, you should connect it to the HDMI port on your motherboard.
- If you have additional monitors, you can connect the HDMI cables to them as well.
- Your monitors should be detected automatically when you boot into Windows.
- Take a few moments to double-check that everything is set up correctly for the displays.
- You will have other opportunities to do this but now is the best time. To change your display settings, right-click on your desktop and select “Display Settings.”
4. Update Your Integrated Graphics Driver
You must now go through the process of detecting additional monitors and checking for updates. Follow these steps to accomplish this.
- In Windows, navigate to the “Device Manager.”
- Look for an unidentified device in the “Other Devices” section. There could be more than one. If you do, repeat these steps for each one separately.
- Install the most up-to-date driver for each of these devices. You may need to go to the CPU manufacturer’s website or allow Windows to search for updates automatically.
- Restart your computer once all of the updates have been downloaded and installed. Wait for the monitor to turn on.
Advantages of Using Motherboard HDMI:
If you’re looking to get the most out of your gaming PC, then one of the best ways to do that is by using a motherboard with HDMI. By doing this, you’ll be able to take advantage of some great features that can help improve your gaming experience.
Here are some of the advantages of using a motherboard with HDMI:
- You’ll be able to get a better picture quality. When you’re playing games, you want to be able to see everything as clearly as possible. By using a motherboard with HDMI, you’ll be able to get a sharper and more vibrant image.
- You’ll have access to more ports. If you’re using a traditional VGA connection, then you’re limited to just two ports. With HDMI, you’ll have access to four ports. This means that you can connect more devices to your gaming PC.
- You’ll be able to use higher resolutions. If you want to take advantage of the latest and greatest in-game resolution, then you need to use a motherboard with HDMI. By using this type of connection, you’ll be able to use resolutions up to 4096×23040.
These are just a few of the advantages that you’ll be able to take advantage of by using a motherboard with HDMI if you’re looking to get the most out of your gaming PC.
Conclusion:
Enabling your motherboard’s HDMI is easy and only takes a few steps. By following this guide, you’ll be able to enable your motherboard’s HDMI and get the best possible video quality for your monitor/PC.
If you are also looking for the Best Motherboard for i5 10400 and 10400F for gaming, please check this article: Best Motherboard for i5 10400 and 10400F
Frequently Asked Questions
How can I tell if my HDMI port is turned on?
In the dialogue box, check the status of your HDMI port. If the status reads “This device is operating normally,” your HDMI port is operational. If you see a message indicating that you need to troubleshoot your device, it means that your HDMI port is functional but has a problem that is likely fixable.
How do I get my motherboard’s display?
Connect your primary monitor to the video card’s HDMI port on the back. If your secondary monitor is HDMI connected to the motherboard, this signal must be passed. Make sure the opposite end of the HDMI cables is connected to each monitor. Your monitors should be detected when you boot up Windows.
How do I turn on HDMI on my MSI laptop?
Look for the Thunderbolt 3 icon near the port to identify it on this laptop. Connect a Type-C to HDMI adapter to the Thunderbolt 3 Type-C port. Connect the adapter to one end of the HDMI cable and the monitor to the other. That’s all!
In Device Manager, how do I locate my HDMI port?
The Display Adapter driver includes the HDMI port (video portion). It will not be displayed separately in Device Manager. The driver for HDMI audio is usually included with the display adapter drivers, and it will appear in Sound, Video, and Game Controllers, as well as the Sound control panel.


